Projects
- To make a front and back for a notepad
- Water bottle design
- 3-D object that is put together from pieces cut
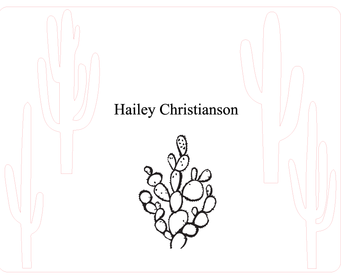
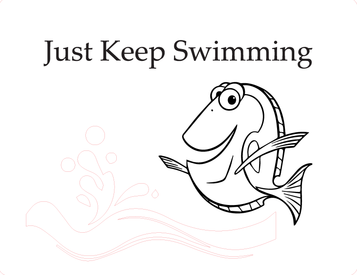
Designs For The Notepad Covers
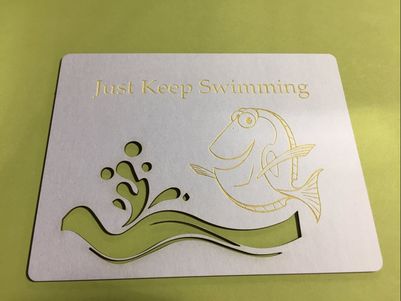
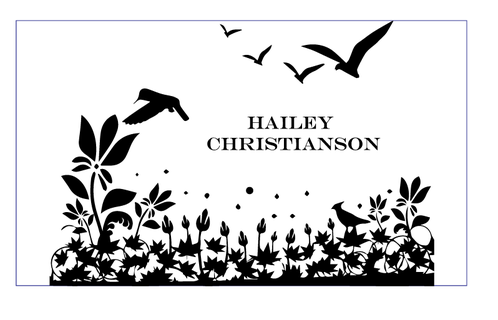
These are the front and back designs for my notepad that I made on Illustrator.
|
|
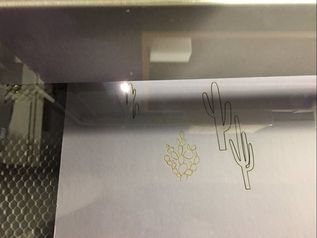
The front cover of my notepad being cut in the laser machine. The design is 5.5 inches by 4.25 inches.
These are the cut outs for the front and back designs for my notepad.
|
|
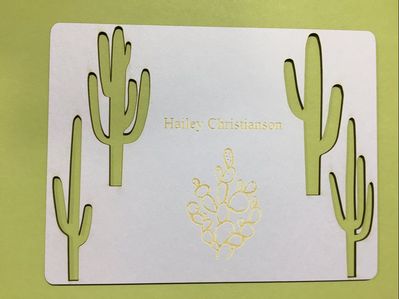
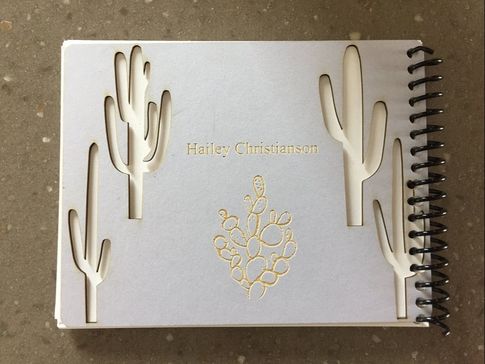
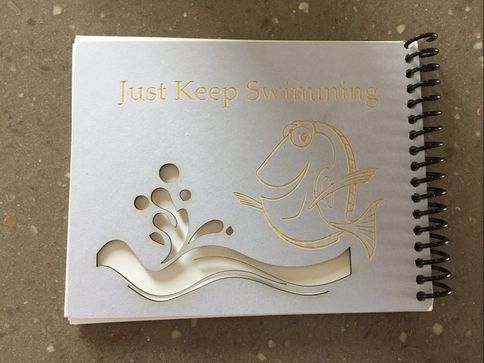
Final Product of Notepad Covers
This is my final product after I put them together by punching holes and adding 40 pages of paper in between them. Then I put a spiral binding through the holes to get the final product.
|
|
Water Bottle Project
This is the design I made in Illustrator for my water bottle.
In Action
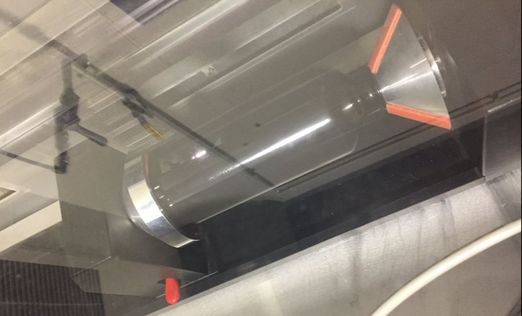
This is my water bottle placed in the rotational jig engraving my design on to it.
Finished Product
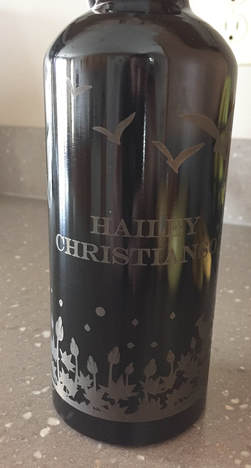
This is my water bottle all finished with my design on it.
3-D Project
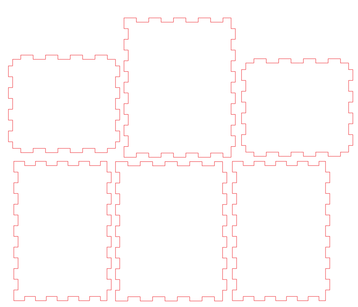
This is my design of sides of the box that I will make from the cut outs.

This is when my sides were being cut out by the laser.
Cut Outs
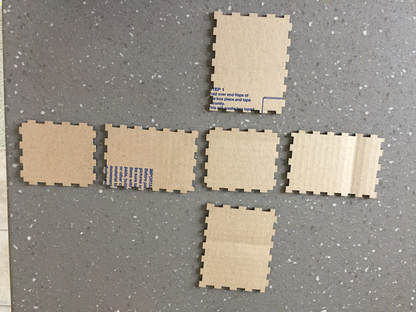
These are the sides of my box cut out.
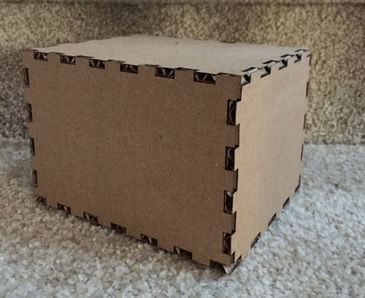
Finished Product
This is my finished box after putting all the sides together.
Conclusion
From doing these three projects I have defiantly learned how to use the laser machine easier and can do some things without help. The hardest part for me was aligning the laser up with my water bottle design so it would cover the whole surface because my design was pretty close to the edges. However, from doing this project I have learned different ways I can plan out my designing and printing to make sure to finish all projects in time. But it was a great experience to work with this machine more closely when making these projects.
