Vinyl Project Start
For this project we had to create a image with the vinyl cutter. The image had to consist of 3 colors. For my image I really wanted to make a turtle because I planed on putting it onto my computer lap top that has a skin on it that looks like ocean waves. So I was thinking a turtle and a wave would look very nice together. To make the image three colors I would do one color for the arms, legs, and head of the turtle. Then I would do the outer shell of the turtle a different color, and finally the third color would be the inside shell.
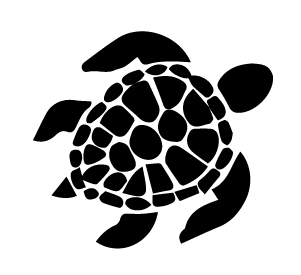
Starting Image
This is my image that I placed into Illustrator, and will then put on my flash drive to place into the vinyl cutter to have it cut out.
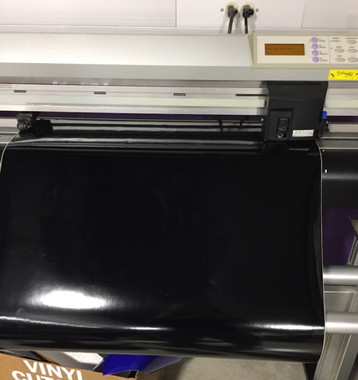
Starting The Process
To start my project I had to set up the cutter with the vinyl. I first wanted to cut out the legs, arms, and head so I put in black first.
Cut Outs
These are the sections of the turtle that have different colors. I choose a black for the arms, legs, and head. A purple for the outer shell, and a sparkled purple for the inner shell.


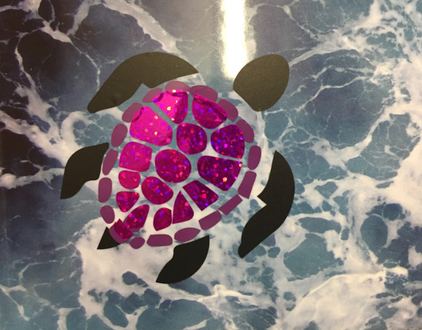
Final Product
This is the final product of my vinyl colors placed together to make my image of a turtle on my lap top.
Conclusion
From using the vinyl cutter with this project I have gotten a better understanding on how to use the cutter, and have become more comfortable with using it. I have also learned that this can be a pretty simple project if you know what you are doing, and you can finish this in a day if you have to.
